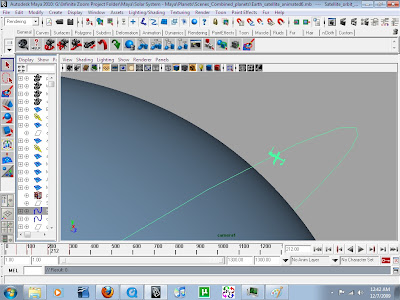


18.To animate the satellite so it orbits your Earth, create a nurbs circle, expand it to a realistic distance from the Earth. Now parent the satellite to the nurbs circle by selecting them both and choosing edit>parent. With the nurbs circle as the parent selected click 's' this will save a point on the timeline, now move a about 200 places down the timeline, rotate the nurbs circles so the satellite is out of sight behing your and click 's' again. Now play through the timeline and your satellite should moving in a smooth orbit around the Earth.
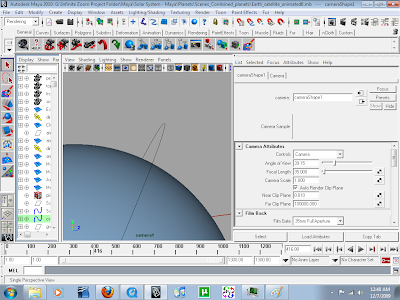
19.Now create a new camera by slecting create>cameras>camera. Under camera attributes slect the far clip plane and set to 100,000 and the film gate 35mm full aperture. Animating the camera is similar to the satellite, just simply move the camera to what you want to view and tap 's' on the timeline for each key shot, Maya will work out the tween frames although this automatic tweening can give you some sketchy results so playback whats just been animated from one key shot to the next.
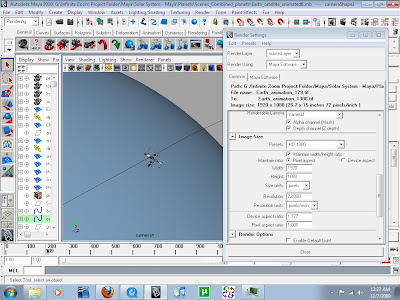
20.Finally when your happy with your animation you are now ready to render. Go to the top right of you Maya screen and click the image of a clapper with two black dots on the left hand side of it, this will open up your render settings. Select the format you wish to render in Tiff is what you need for this. Scroll down and select the frame range changing the start and end frames to match what you've animated on the timeline. Moving down again to Renderable Cameras change to camera1 or whatever camera you've animated, select the Alpha Channel (Mask) as this will be needed to allow you to put stars behind your planets in After Effects. Set the image size to HD 1080 in the presets , in render options make sure default is not enabled. Select the Maya Software tab next to common and then choose anti-aliasing quality, change the Quality setting to production quality and the Edge anti-aliasing to highest quality. Finally scroll down to the raytracing quality, tick raytracing setting the top three values to 10.
21.Ok so now you can render this out and see the results of your hard work, select render>batch render. When its done import this into After Effects as an image sequence and render out in your chosen format. I've added a starry background in mine and tracked it to the movement of the camera. I created this using paint effects>galaxies in Maya, rendering this out as a 4k square and then edited it photoshop to make them more realistic.
No comments:
Post a Comment