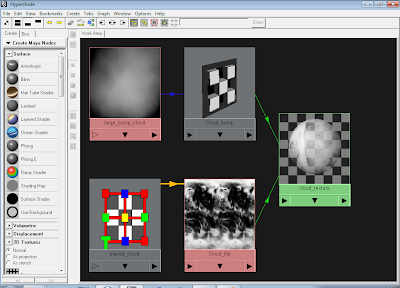
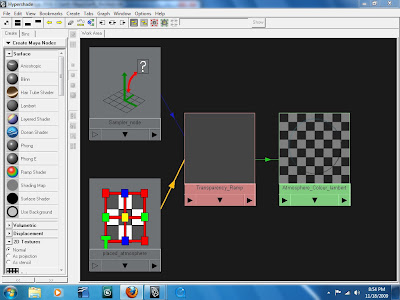
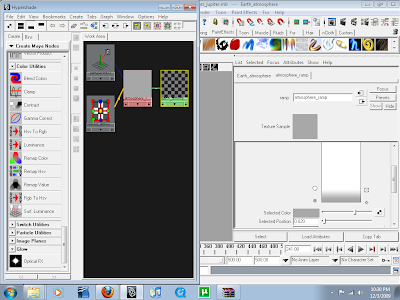
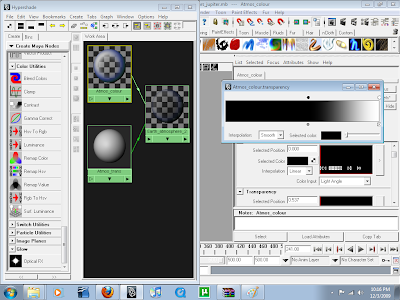
12.Now it's time to create the atmosphere, start by duplicating the clouds polygon sphere and expand by 1, e atmosphere_out. For the outer atmosphere you will need a sampler info node, ramp and a lambert. Plug the sampler info node facing ratio into the ramp V.coord within UV.coord. Set the Ramp to grey and white as in the third picture down. This acts as transparency (black would be loads of colour, white is none.) Change the colour of the lambert to a light blue and diffuse to 0.8 and glow intensity to 0.5 under special effects.
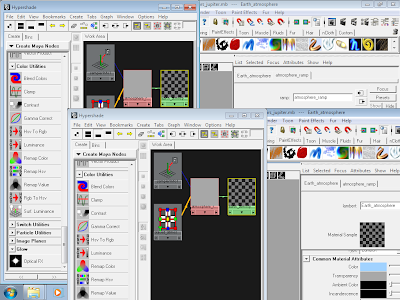
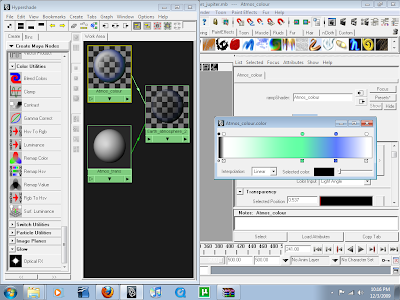
13.Duplicate the atmosphere_out rename atmosphere_in, make two ramp shaders and a lambert rename one ramp shader atmos_colour and the atmos_transparency., rename the lambert atmosphere_in_shader. Plug the atmos_colour in to the the lambert colur and the the atmos_trans into the transparency. Adjust the colour and the transparency as shown in the bottom two pictures.
Hi,
ReplyDeleteGreat tutorial, really appreciate you laying out the methods behind this. Im getting some decent results, but you miss out a few points.
No.13 - what do we do with this material? (duplicate the sphere again and apply like the atmosphere_out?)
Cheers
yhhhh....same question here...what do we do with the material???? does it require a change in size???is it even reqd at the first place??? no offence, but the atmosphere_out did the trick for me...Atmosphere_in was blocking the whole planet, no matter how much i played with its transparency...
ReplyDeleteno offence though...great tutorial btw.. :)